Choosing the correct printing method is the critical defense against misaligned branding on custom umbrella canopies. Post-assembly printing often leads to distorted logos at the seams, resulting in rejected shipments and a loss of brand integrity for high-volume retail and HORECA clients.
Our factory standard is the ‘Print-then-Cut’ workflow. This analysis shows how we apply graphics to flat fabric panels—from 180g/m² polyester to premium PA-coated options—before assembly, guaranteeing precise branding for demanding OEM/ODM orders.
What Is the “Cut-Piece” Printing Process?
Designs are printed onto flat fabric panels *before* they are cut and sewn into an umbrella canopy. This allows for precise, edge-to-edge branding for custom OEM/ODM orders.
The Print-Then-Cut Workflow Explained
“Cut-piece” printing isn’t complicated. It’s the industrial standard for getting complex or full-coverage graphics onto a product before it’s assembled. Instead of trying to print on a finished, three-dimensional umbrella, we print the design onto large, flat sheets of canopy fabric first. Only after the ink is set do we cut the individual triangular panels that will be sewn together.
- First, we print your brand patterns or logos directly onto flat fabric stock.
- Next, we precision-cut the printed fabric into the exact panel shapes required for the umbrella frame.
- This method guarantees that logos are placed correctly and patterns align perfectly before any sewing begins.
Application for Custom Logos and Branded Canopies
This process is the foundation of our Personalização OEM/ODM services. It’s how we produce umbrellas with unique, consistent branding that covers the entire canopy, which is impossible with post-assembly printing methods. This approach works across our entire fabric range, from standard 180g/m² polyester for volume orders to premium 250g/m² options for high-end applications. For HORECA and large retail clients, this is the only way to ensure brand identity is flawlessly represented across all their outdoor furniture.

Full Bleed vs. Center Print: What Are the Design Limitations?
Full bleed prints to the material’s edge, while center print stays within a safe margin. For sewn products like umbrella canopies, center print is standard to avoid distorting logos at the seams.
| Recurso | Full Bleed Printing | Center Print |
|---|---|---|
| Design Area | Artwork extends beyond the final trim line to cover the entire surface. | Artwork is contained within a defined central area, with clear margins. |
| Edge Finish | No white borders. The design runs directly to the physical edge after trimming. | A built-in margin of unprinted material frames the design. |
| Seam Compatibility | Poor. Impractical for products sewn from multiple panels as alignment is nearly impossible. | Excellent. The standard for multi-panel products like umbrellas, tents, and apparel. |
| Primary Use Case | Business cards, flyers, posters, and other single-piece printed materials. | Branded logos and graphics on individual umbrella panels, t-shirts, and tote bags. |
Understanding Bleed Extension and Safety Zones
Full bleed printing isn’t just about making a design bigger. It requires specific file preparation to account for tiny physical shifts that happen during the cutting process. Without these allowances, you risk getting unsightly white slivers along the edge of the final product. The two non-negotiable rules are simple.
- Bleed Extension: The design’s background must extend beyond the final cut line, usually by 1/8 inch (0.125″). This extra margin is the “bleed,” and it gets trimmed off, ensuring the color goes right to the edge.
- Safety Zone: All important content, like logos, text, or key parts of an image, must stay inside an internal safety margin, also typically 1/8 inch from the cut line. Anything outside this zone risks being clipped during trimming.
Center Print: The Standard for Umbrella Canopy Logos
An umbrella canopy isn’t a single piece of fabric; it’s constructed from multiple triangular panels sewn together. Trying to align a full bleed design across these seams is a production nightmare waiting to happen. The slightest stretch or shift during sewing would break the image, resulting in a misaligned, unprofessional look.
The correct B2B manufacturing process is to use center printing. We print logos or patterns neatly in the middle of each individual fabric panel *before* they are sewn together. This method completely avoids any risk of misalignment or distortion across the seams. It guarantees your brand mark appears clean, sharp, and correctly positioned on the finished umbrella, every time.
Source Durable, Commercial-Grade Umbrellas Factory-Direct

Seam Alignment: How Do You Match Patterns Across Panels?
Matching patterns requires planning before cutting. Simple repeats depend on fabric grain, while complex prints use a digital template. It’s a manual process with inherent challenges.
Ensuring a printed pattern lines up correctly across separate fabric panels, like those on an umbrella canopy, is a mix of careful planning and skilled manual work. The approach depends entirely on the type of print you’re working with. Getting it right is one of the details that separates high-quality production from the rest, but it’s not always straightforward in a factory setting.

Strategies for Repeat vs. Engineered Prints
For simple, repeating patterns, the main concerns are the pattern’s orientation and the fabric’s grainline. A multi-directional print allows pattern pieces to be cut from any direction on the roll, which helps nest pieces efficiently and reduces waste. A one-way print, like a floral design that must point up, restricts how you can cut the fabric, requiring every piece to be oriented in the same direction.
Engineered prints are a different beast. These designs are made for a specific product shape. The process requires a precise digital template where the artwork is placed onto each pattern piece before any fabric is printed. This template must include a bleed area around the edges to account for seams and potential shifts during production. It’s a design-heavy approach that locks the print to the pattern from the very beginning.
The Manual Matching Process in Production
On the factory floor, the process is hands-on. A worker takes a cut fabric panel and folds over its seam allowance. They then lay this folded edge directly on top of the uncut fabric, carefully aligning the printed motif underneath. Once the pattern matches, they use weights and pins to secure the piece before cutting the next panel.
Because this relies entirely on a person’s skill and attention to detail, achieving perfect, seamless continuity across every seam is incredibly difficult. In mass production, minor misalignments are a common and often accepted reality of the process. The time and labor required for perfect alignment just aren’t feasible for large-scale, cost-sensitive manufacturing.
What Is the Correct Production Workflow: Print, Cut, or Sew?
There is no single correct workflow. All-over patterns are printed then cut. For sharp logos on our umbrellas, we print on flat panels before sewing them together.
The best production sequence depends entirely on the final design requirements. Trying to force one method onto every project leads to compromised quality and inaccurate branding. The choice between printing first or cutting first determines the final look, especially for products with seams.
Comparing ‘Print-then-Cut’ vs. ‘Cut-then-Sew’ Methods
The “Print-then-Cut” method involves printing designs onto large fabric rolls or flat panels first. The printed material is then cut into the required shapes for sewing. This workflow is essential for creating edge-to-edge, all-over prints where the pattern must align accurately across different seams.
The traditional “Cut-then-Sew” approach does the opposite. Fabric panels are cut into their final shapes first and then stitched together. This gives maximum control over fabric selection and is ideal for the precise placement of smaller, individual graphics like patches or simple logos onto an already constructed product.
Ensuring Brand Accuracy on Umbrella Canopies
To meet the strict branding needs of our OEM and ODM clients, we use a “Print-then-Cut” workflow for all custom logos and patterns on our umbrellas.
We print directly onto the flat, uncut canopy panels before they are sewn together. This guarantees the final branding is crisp, perfectly placed, and free from any gaps or distortion at the seams of the finished umbrella. It’s the only way to ensure a professional, clean look for custom-branded products.

Why Is It Impossible to Print “Edge-to-Edge” on Finished Stock?
Printing equipment needs unprintable margins to grip and move material. The real solution is to print a design on oversized stock with a ‘bleed’ area, then trim it down.
Mechanical Grippers and Unprintable Margins
You can’t print to the absolute edge of a pre-cut item for a simple mechanical reason. Most printing and processing equipment uses physical grippers to grab, hold, and feed the material through the machine. This gripping area creates a mandatory unprintable margin where no ink or toner can be applied.
Internal components like fusers, which bond toner to the stock, also need physical contact points to work correctly. These systems are not designed to apply color all the way to the border of a finished product. These constraints are a fundamental part of how the machinery operates.
The ‘Print-then-Cut’ Workflow for Full Bleed Results
To get a true “full bleed” or edge-to-edge appearance, we use a different workflow. Instead of printing on a finished piece, custom patterns are printed onto oversized fabric panels. These designs intentionally include extra image area, or bleed margins, that extend beyond the final dimensions of the product.
After the oversized panel is printed, we use crop marks as guides to trim it down to its precise, final size. This “Print-then-Cut” method is exactly how we ensure custom branding on our umbrella canopies extends cleanly and seamlessly right to every edge and seam, with no awkward white borders.
Precision Registration: How Do You Avoid White Gaps?
White gaps from misaligned color plates are avoided with ‘trapping,’ a technique that intentionally overlaps adjacent colors. This compensates for minor press shifts, preventing visible white lines.
When printing with multiple colors, each color is applied by a separate plate. If these plates don’t line up perfectly—a problem called misregistration—you can get ugly white gaps between colors. This isn’t just an amateur mistake; it happens due to tiny mechanical shifts in the printing press. The solution is a standard part of professional pre-press work.
Understanding ‘Trapping’ to Prevent Misalignment
Trapping is the fix. It’s a pre-press technique that creates a small, deliberate overlap between adjacent colors directly in the design file. Instead of letting two colors butt up against each other, one color is slightly expanded to print over the edge of the other. This involves either spreading a lighter color into a darker one or choking the background to let a light object print over its edges. The resulting dark overlap is much less noticeable to the eye than a sharp white line, ensuring a clean look even if the press shifts by a fraction of a millimeter.
Pre-Press Design Strategies for Flawless Results
Good design is the first line of defense against registration issues. Building files correctly from the start minimizes risk before the job ever hits the press.
- Use solid colors for fine details. Never use a multi-color CMYK build for small text or thin lines. Even the slightest misalignment will make them blurry and unreadable. Stick to a single, solid ink for these elements.
- Keep critical elements away from edges. The outer edges of the printing area are where mechanical instability is highest. Position important text and logos away from these zones to reduce the risk of visible shifts.
- Use 100% Black for text. Avoid using “registration black,” which is 100% of all CMYK colors. If the color plates aren’t perfectly aligned, registration black creates a colored halo or fuzzy edge around your text. Simple 100% Black (K) avoids this completely.
Cost Implications: How Does Setup Time Impact the Price?
Setup is a fixed, upfront cost. Spreading this cost over more units dramatically lowers the price per item, making larger production runs much more cost-effective.
How Batch Size Determines Per-Unit Cost
Setup is a fixed cost that covers all the prep work—labor, materials, and machine calibration—before the first product is even made. This cost stays the same whether you order 10 units or 1,000. The difference is how that cost gets distributed.
If a setup costs $100, a small batch of 10 items means you’re adding $10 to the price of each one just to cover setup. But for a larger order of 100 items, that same $100 setup only adds $1 per unit. This is the core principle of economies of scale in manufacturing. The larger the batch, the more thinly the setup cost is spread, making the per-unit price significantly lower.
The Impact of Multi-Color Designs on Setup
Design complexity, especially the number of colors, directly multiplies setup costs. When screen printing a custom logo onto a product like an umbrella canopy, each color in the design requires its own unique screen. A four-color logo means four separate screens need to be created, coated, exposed, and aligned. This multiplies the labor, materials, and machine time needed before the run can start.
For B2B clients ordering branded products, this has a real budget impact. Opting for a single-color design is a simple and effective strategy to minimize initial setup costs. This is particularly useful for smaller orders where the setup expense makes up a larger portion of the total price.
Video Demonstration: Want to See the Flatbed Printer in Action?
Our video shows the flatbed UV printer operating in real-time. You’ll see how we print vibrant, multi-layered graphics directly onto fabric panels before sewing the umbrella canopy.
Key Processes Shown in the Demonstration
The demonstration breaks down our entire printing workflow. You aren’t just seeing a machine run; you’re seeing the exact steps we take to ensure quality and precision for every component.
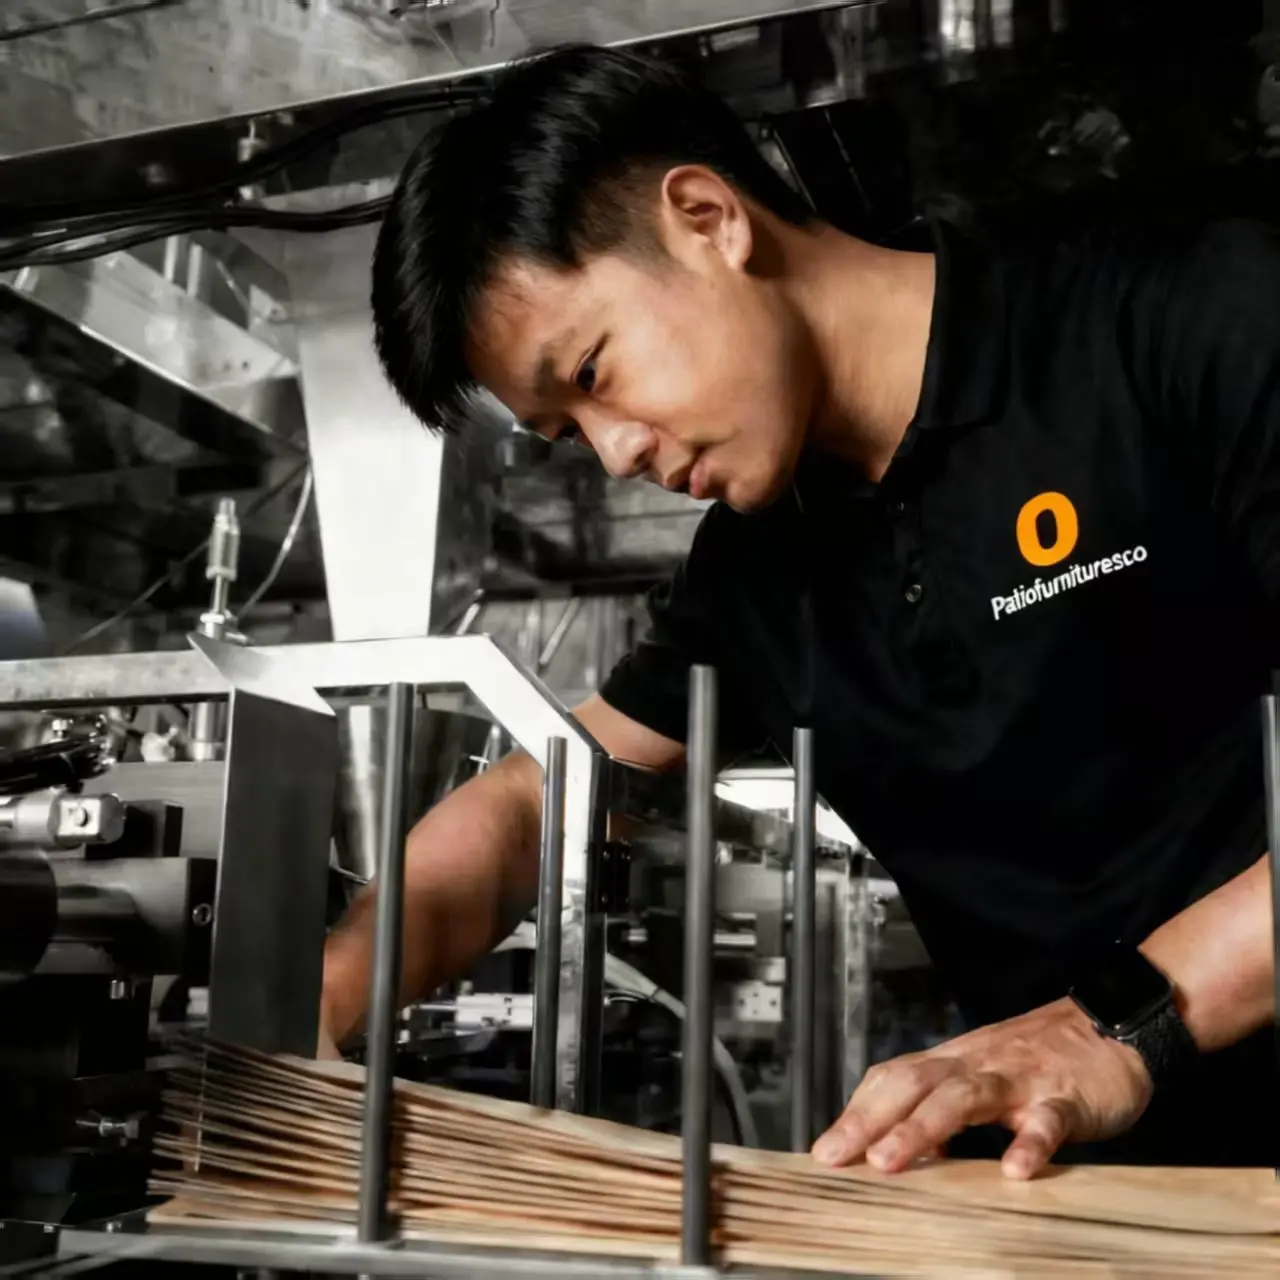
- The operator carefully positions the pre-cut fabric panels onto the printer’s flatbed, securing them for precise alignment.
- The machine demonstrates multi-layer printing, first applying a solid white ink base. This base layer ensures the final colors appear bright and true, even on darker fabrics.
- As the print head moves, integrated UV-LED lights instantly cure the ink. This means the panels are completely dry and smudge-proof the moment they finish, ready for immediate handling and sewing.
Applying Custom Graphics to Umbrella Canopies
This process is how we produce umbrellas with complex, branded designs for our clients. We print client logos and full-color patterns directly onto our durable, PA-coated polyester fabric panels while they are still flat.
Printing on cut pieces is the key to achieving the clean, full-bleed graphics that brands demand. It allows patterns to extend to the very edge of each panel, ensuring they align perfectly after our sewing team assembles the canopy. This method eliminates the registration errors and gaps common when trying to print on a pre-assembled product. It’s the ideal production technique for our commercial and HORECA clients who require professional, high-impact branding.
Considerações finais
Attempting to print on a finished canopy might seem cheaper, but it guarantees misaligned logos and damages your brand’s credibility. Our ‘Print-then-Cut’ workflow on premium PA-coated fabric is the only way to ensure brand identity is flawlessly represented. This professional standard protects your investment and secures repeat business.
The difference is in the details you can feel and see. Verify our print quality and fabric durability by requesting a physical sample for your team to evaluate. Send your artwork to our technical team to confirm production feasibility for your next OEM order.
Perguntas frequentes
Can you print over the seams of the umbrella?
No, the print should not go directly over the stitched seams, panel joins, or reinforced areas of the canopy. Printing across these raised seams makes ink deposit unevenly, so the logo or artwork can look distorted, patchy, or may crack and wear faster in use.
What is cut-piece printing?
Cut-piece printing means printing on each individual fabric panel before the canopy is sewn together. This approach gives a flatter surface for better registration, sharper details, and more consistent color, especially for larger logos or multi-color artwork.
Can I print a photo on the entire canopy?
Yes, it is possible to print a full-canopy design or photo using digital or sublimation printing, where the artwork can cover every panel edge to edge. However, full-canopy photo printing usually has higher quantidades mínimas de encomenda and longer lead times compared with a simple logo on one or two panels.
Why is full-bleed printing more expensive?
Full-bleed printing covers the entire panel (or canopy) to the edges, so it uses more ink, larger print plates or full-size digital setups, and longer press time per piece. In addition, full-bleed often requires cut-piece production and more careful fabric alignment, which increases labor cost, wastage allowance, and overall unit cost compared with a standard spot logo.